
OrcaSlicer Calibration Masterclass: Pressure Advance — Which Test Do You Trust? (Part 3)
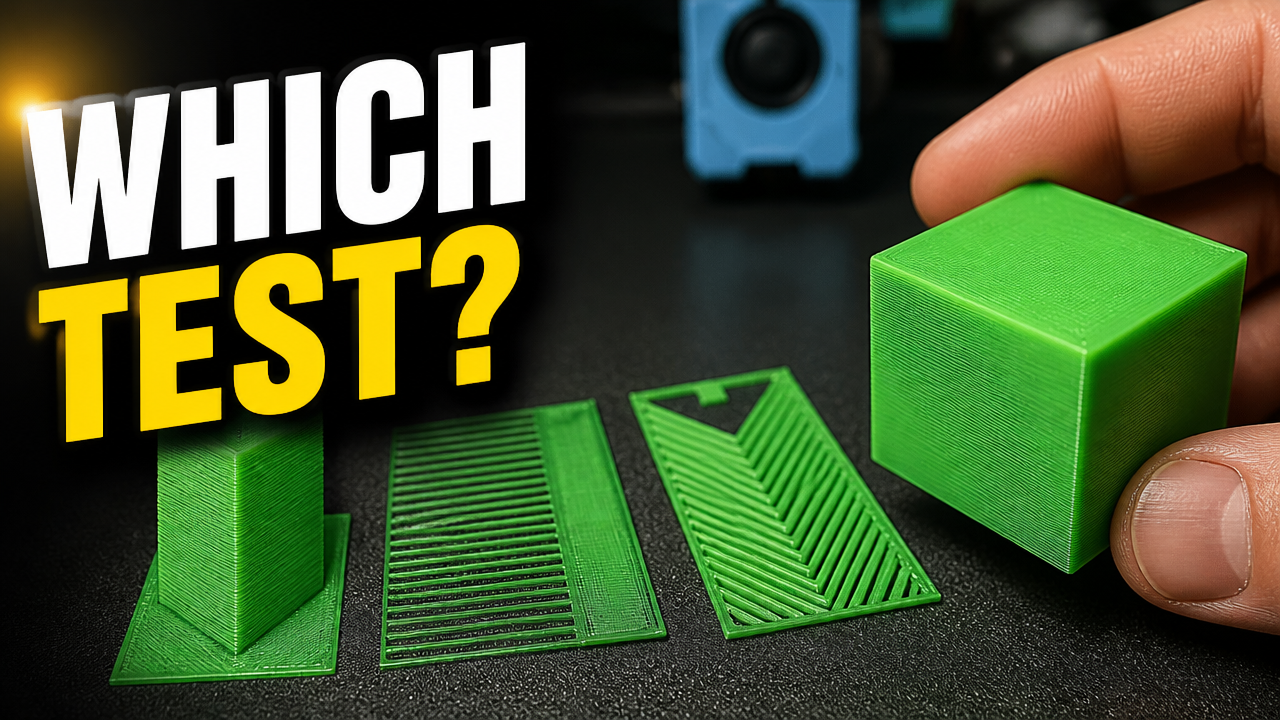
Part 3 of the OrcaSlicer Calibration Masterclass is up, and this one’s about Pressure Advance — the setting responsible for those blobby corners and gapped lines that show up whenever your printer speeds up or slows down mid-print.
What Pressure Advance Actually Fixes
Section titled “What Pressure Advance Actually Fixes”Pressure Advance compensates for the lag between your extruder motor moving and the filament actually pushing out of the nozzle. When your printer accelerates, that lag shows up as bulging. When it decelerates, it shows up as gaps. Dial in the right PA value and the hot end pushes a consistent amount of filament out regardless of speed — sharp corners, no blobs, no gaps.
OrcaSlicer gives you three ways to find that value: the PA Tower, the PA Line test, and the PA Pattern test. I ran all three back to back on my Sovol SV08 (direct drive) to see how much they actually agree with each other.
The Three Tests, Compared
Section titled “The Three Tests, Compared”| Test | Value | Notes |
|---|---|---|
| PA Tower | 0.056 | Classic test, built into most slicers/firmware. Look for the sharpest corner. |
| PA Line | 0.054 | Fastest to read — look for the most consistent line. |
| PA Pattern | 0.050 | Newest test in OrcaSlicer, but I trusted this one least — the lines weren’t as clean on my print. |
The three tests didn’t agree exactly, which is normal — they’re measuring the same thing with different amounts of visual noise. I ended up going with 0.055, splitting the difference between the Tower and Line results and discounting the Pattern test since I wasn’t confident in the read.
Skip the Manual Math
Section titled “Skip the Manual Math”Once you’ve measured your test print, you still need to convert that measurement into an actual PA value — that’s the part most people get stuck on or get wrong by eyeballing it. I built a calculator that does this for you: plug in your start value, increment, and measured distance, and it gives you the number to paste into OrcaSlicer.
Setting the Value in OrcaSlicer
Section titled “Setting the Value in OrcaSlicer”Once you’ve got your number:
- Open your filament profile and hit Edit
- Scroll down and enable Pressure Advance
- Enter your calculated value
- Save the profile
That’s it — no firmware flashing, no macros, just a filament setting.
Which Test Should You Use?
Section titled “Which Test Should You Use?”If you only have time for one test, run the Line test — it’s the fastest to print and read. If you want a second opinion (recommended, since no single test is perfect), add the Tower. I’d hold off on trusting the Pattern test alone until you’ve got some practice reading it — it’s more prone to misreads than the other two, at least in my experience.
For the full methodology straight from the source, OrcaSlicer’s own wiki has a good reference: OrcaSlicer Pressure Advance Calibration.
What’s Next
Section titled “What’s Next”Part 4 covers Adaptive Pressure Advance — a more dynamic method that OrcaSlicer now recommends over the static single-value approach we used here. I’ll show you how to calculate and test it.
If you found this useful, the calculator hub has more tools like this — go.minimal3dp.com.
Questions about your own PA results? Drop them in the comments on the video or reach out directly.